Two Teachers in Fifth

teach.engage.create

  • Two Teachers in Fifth
  • Home
  • About
  • Blog
    • Back To School
    • Technology in the Classroom
    • Classroom Management
    • Math Activities
    • Reading Activities
  • Shop Lessons
  • Teacher Outfits
  • Amazon Store

St. Patrick’s Day in the Classroom

March 9, 2024

Community Building (all grades)

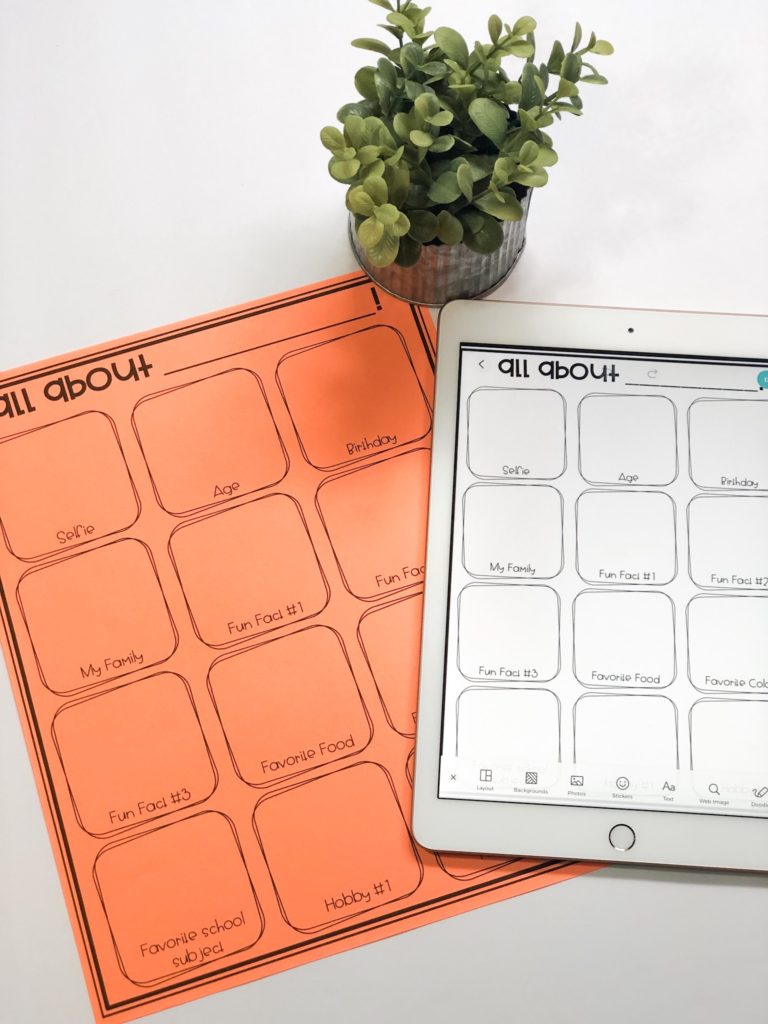
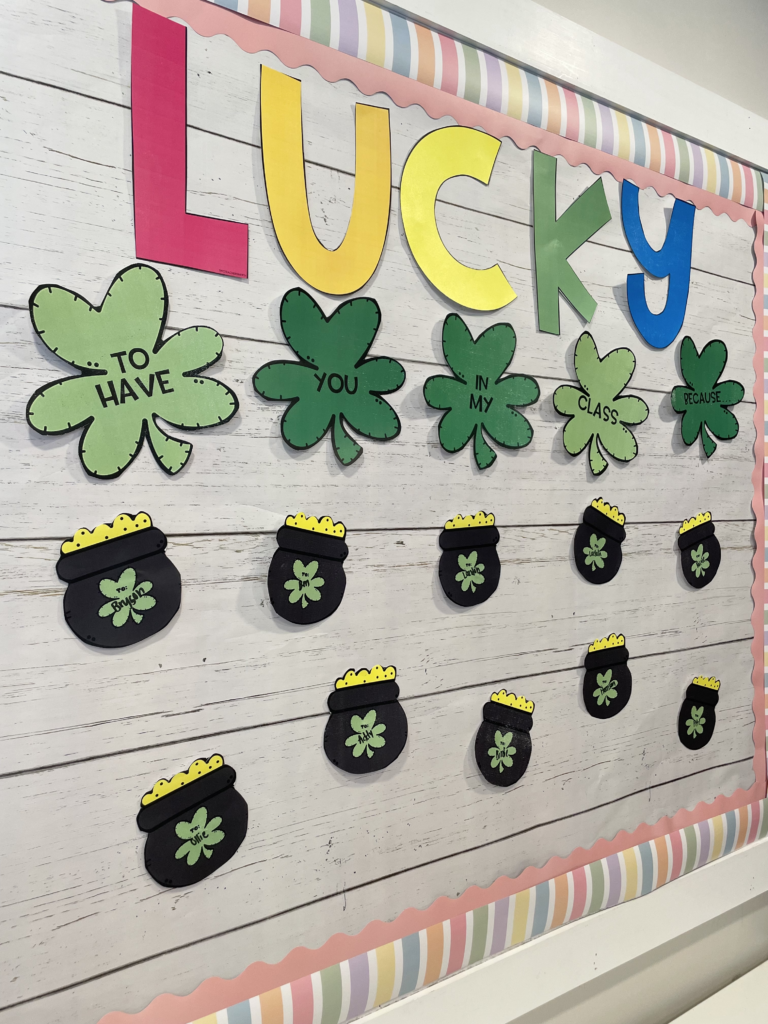
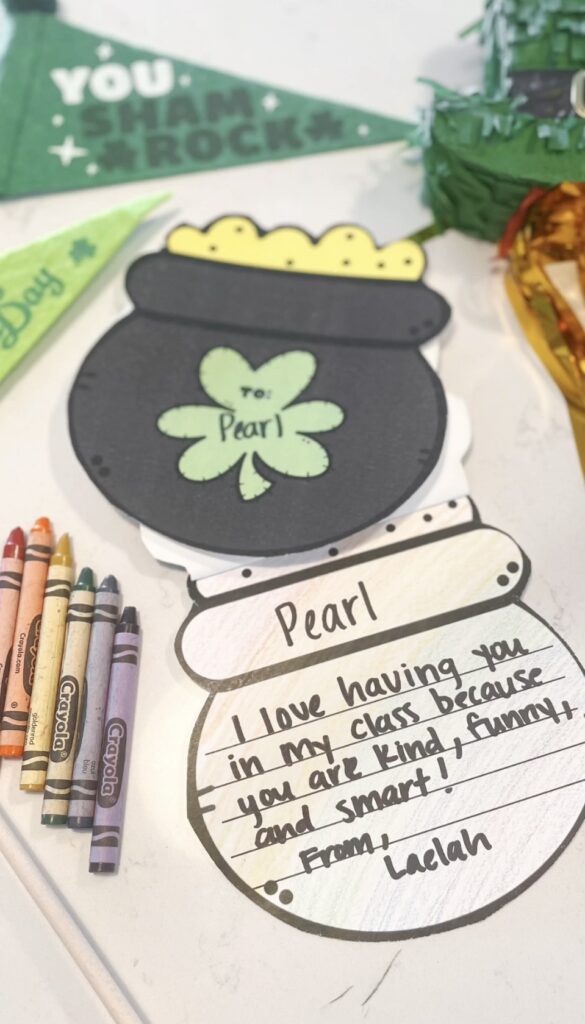
This is a two for one! The students work on this adorable community building activity and then you have the option to turn it into a bulletin board! The activity is designed so that students write a thoughtful note about why they are “Lucky” to have one another in their classroom. TEACHER TIP- I always assign the students for this activity. That ensures no one is feeling left out. I ALWAYS have a conversation beforehand about being positive about whoever they receive as their partner. This helps students positively interact with each other and builds community. Click here to get it.

Math (5th grade)

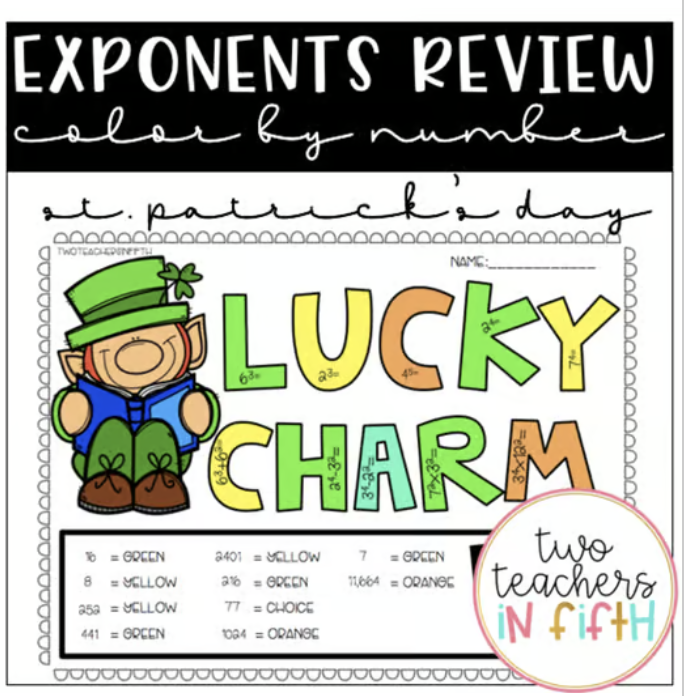
  1. This first math review is a color by number! It is fifth grade specific, so if you teach 5th you can click here to download it for free! Enjoy!

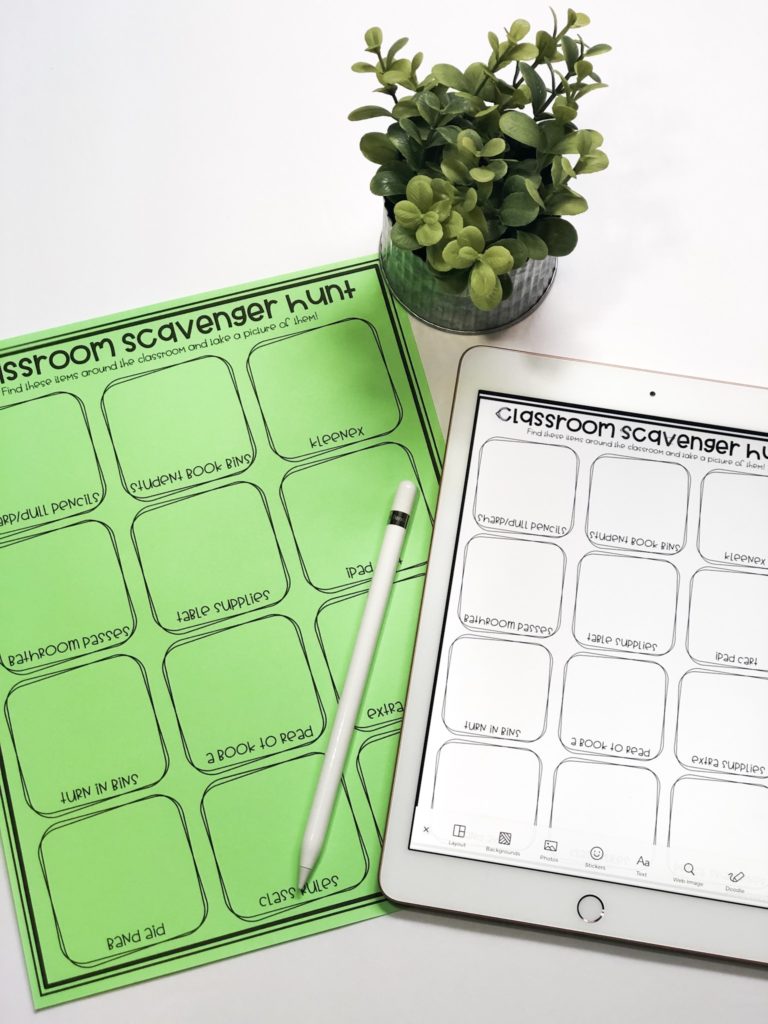
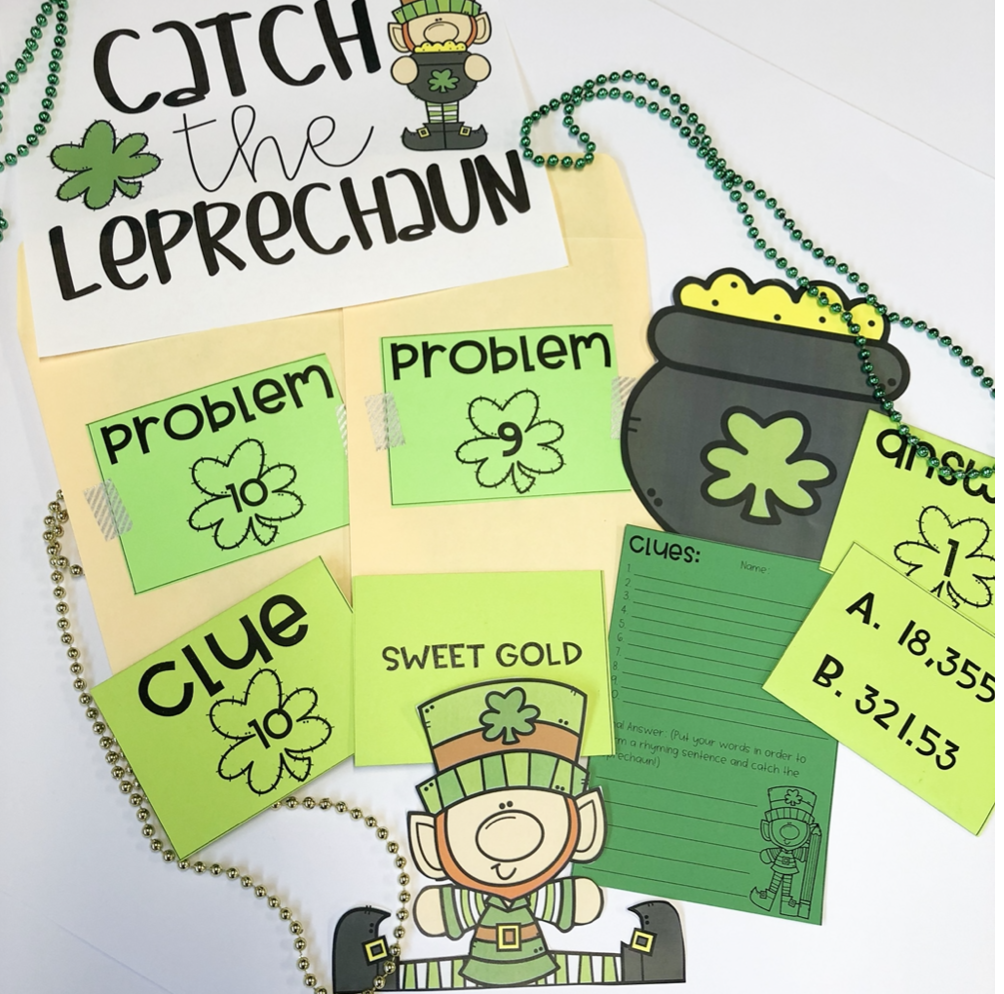
2. This is an interactive math review game called “Catch the Leprechaun”. It’s editable so that if you don’t teach 5th, or want to change the problems, you can! It’s a classroom scavenger hunt that requires students to answer math problems, check their answer, get clues, and unscramble the clues to find the leprechaun. We like to look up instrumental irish music on spotify and play it as background music while the students are working! Click here to get it.

Reading (all grades)

We don’t know about you, but our district is STRICT when it comes to reading. We have to stay on course with our curriculum but what we can do, is add in some fun picture books in morning meeting, stem, during snack read aloud, at the beginning or end of reading. Here are some different read-alouds at all different levels.

  1. How to Catch a Leprechaun by Adam Wallace

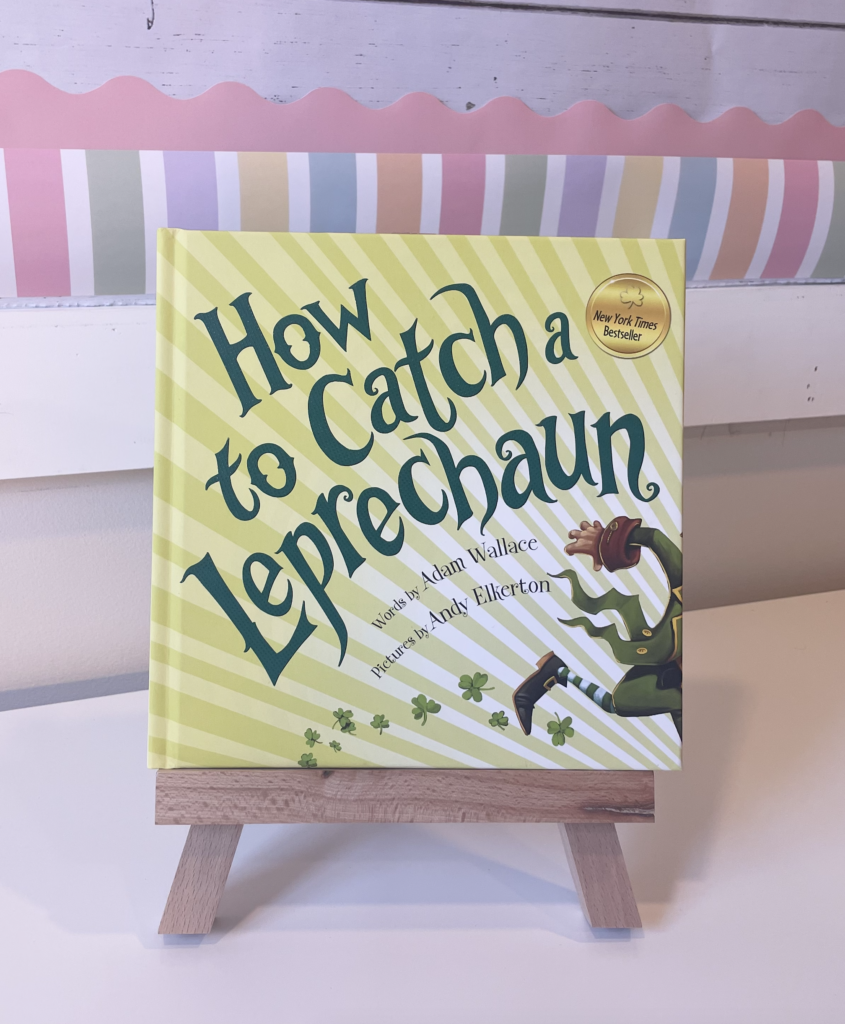
The story begins with the troubles that Leprechauns are known to cause, such as putting your shoes in the sink or scattering green glitter all over your house. Then we follow the Leprechaun to different homes where he reveals different traps that he was tricky enough to avoid. In the end, the Leprechaun admits that one day, one brilliant child will design a perfect trap! This is a perfect segue into a stem project where students create their own traps. Click here for the link to the book.

  1. Celebrating St. Patrick’s Day by John O’Brien Jr

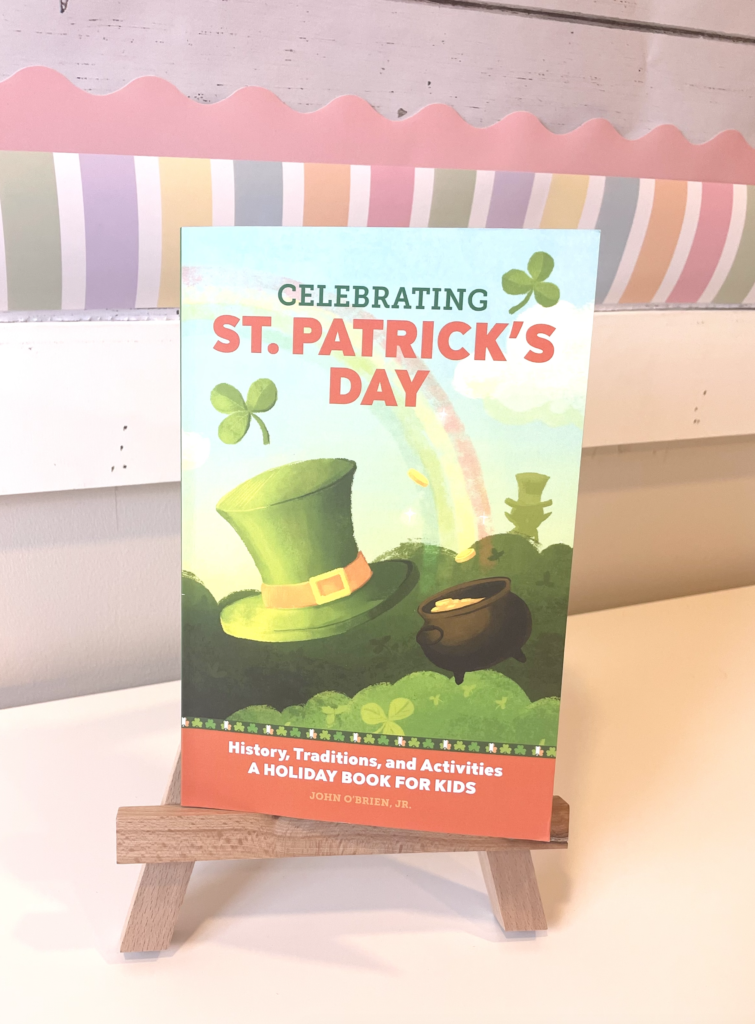
This nonfiction book with pictures teaches students about the history, traditions, and customs of St. Patrick’s Day and is perfect for kids. It includes interactive activities and many interesting facts that your students might not know. Click here for the link to the book.

  1. Fiona’s Luck by Theresa Bateman

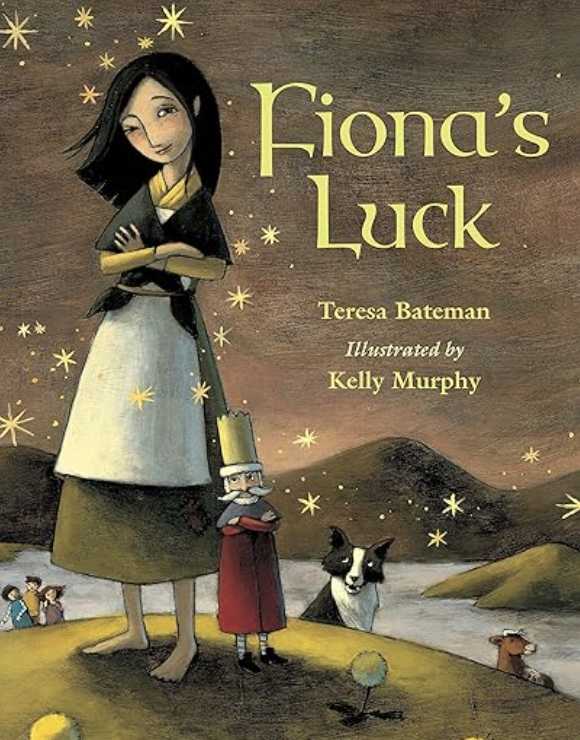
This book is about The luck of the Irish disappearing after a greedy Leprechaun King steals all the good fortune in Ireland and locks it away. It’s up to Fiona who is very clever to devise a plan and take the good fortune back. Her goal is to restore good luck for the people of Ireland. Click here for the link to the book.

  1. Jamie O’Rourke and the Big Potato: An Irish Folktale by Tomie dePaola 

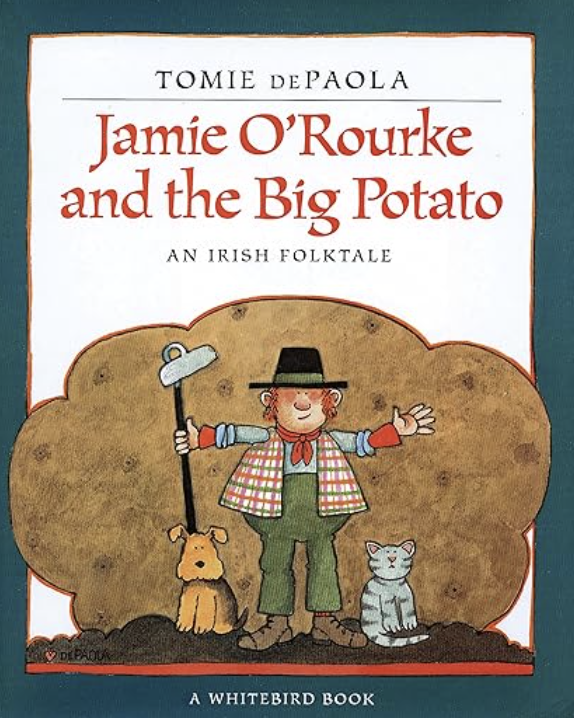
This book tells the story of Jamie O’Rourke, also known as the laziest man in all of Ireland.  He’s so lazy in fact, that he will not help his wife on their farm. Then, after making a deal with a leprechaun, Jamie grows himself the biggest potato in the world! What will your students guess happens next when the potato grows so large that Jamie and the villagers can’t handle it any longer? Click here to get the link to the book.

Getting festive

Are you the type of teacher who likes to dress up and get festive? I know I am! What I’m wearing this year: This green checkered cardigan. I’ve already been wearing this on repeat for weeks. 

Here’s another cute and simple option if you are more of a “Teacher t-shirt kinda person!”
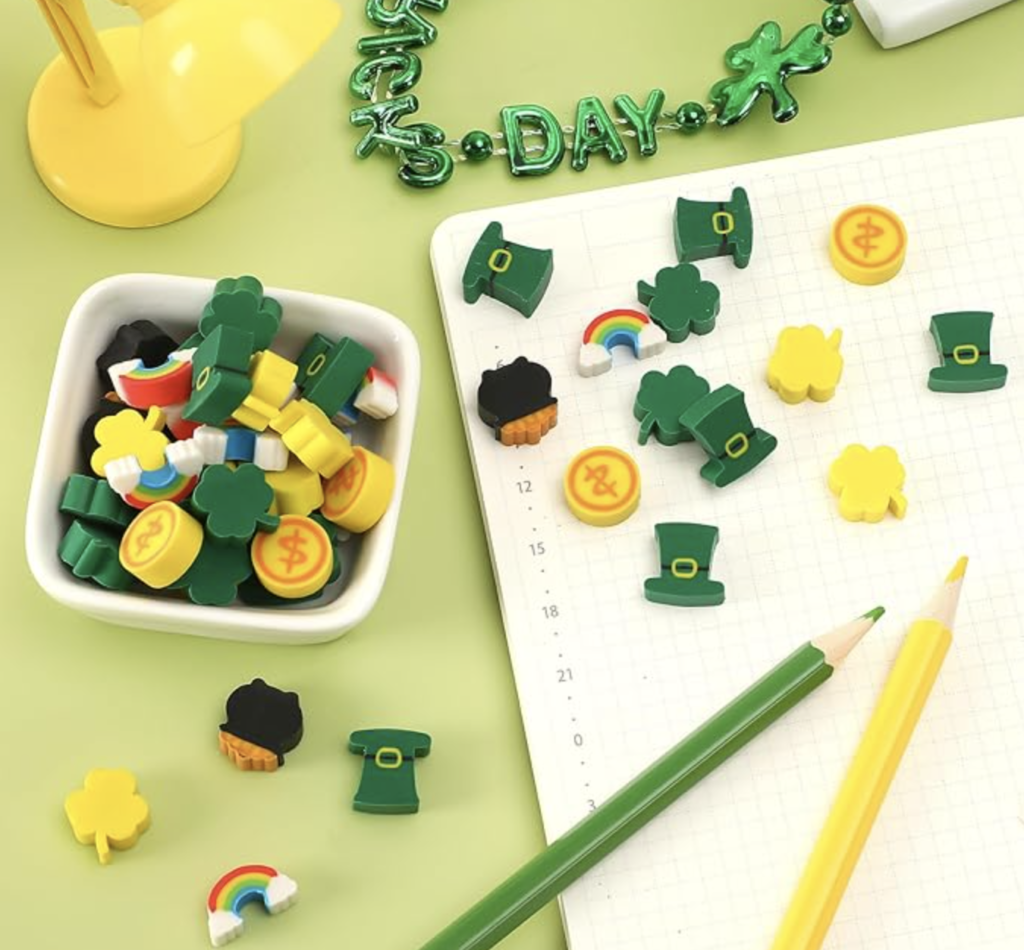
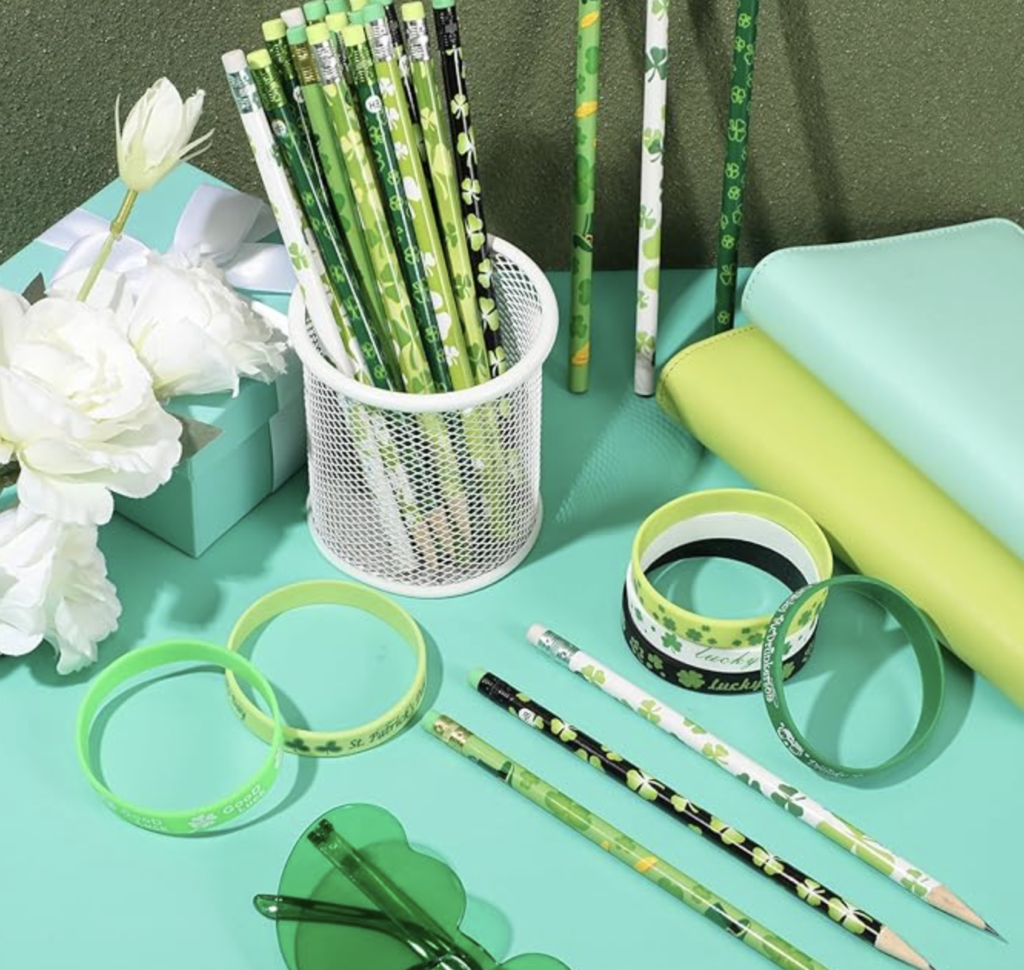
Student Treats

I usually like to get my students a little something every year. If you follow us on Instagram @twotachersinffith, you probably saw the reel I made about my dollar tree FAIL this year! No green pencils, gold coins or chocolate!? Anyways, I found these goodies on Amazon that I thought were cute and cheap. The mini erasers could be fun for math games too!

Thanks for reading and GOOD LUCK with your St. Patrick’s Day Celebrations this year!

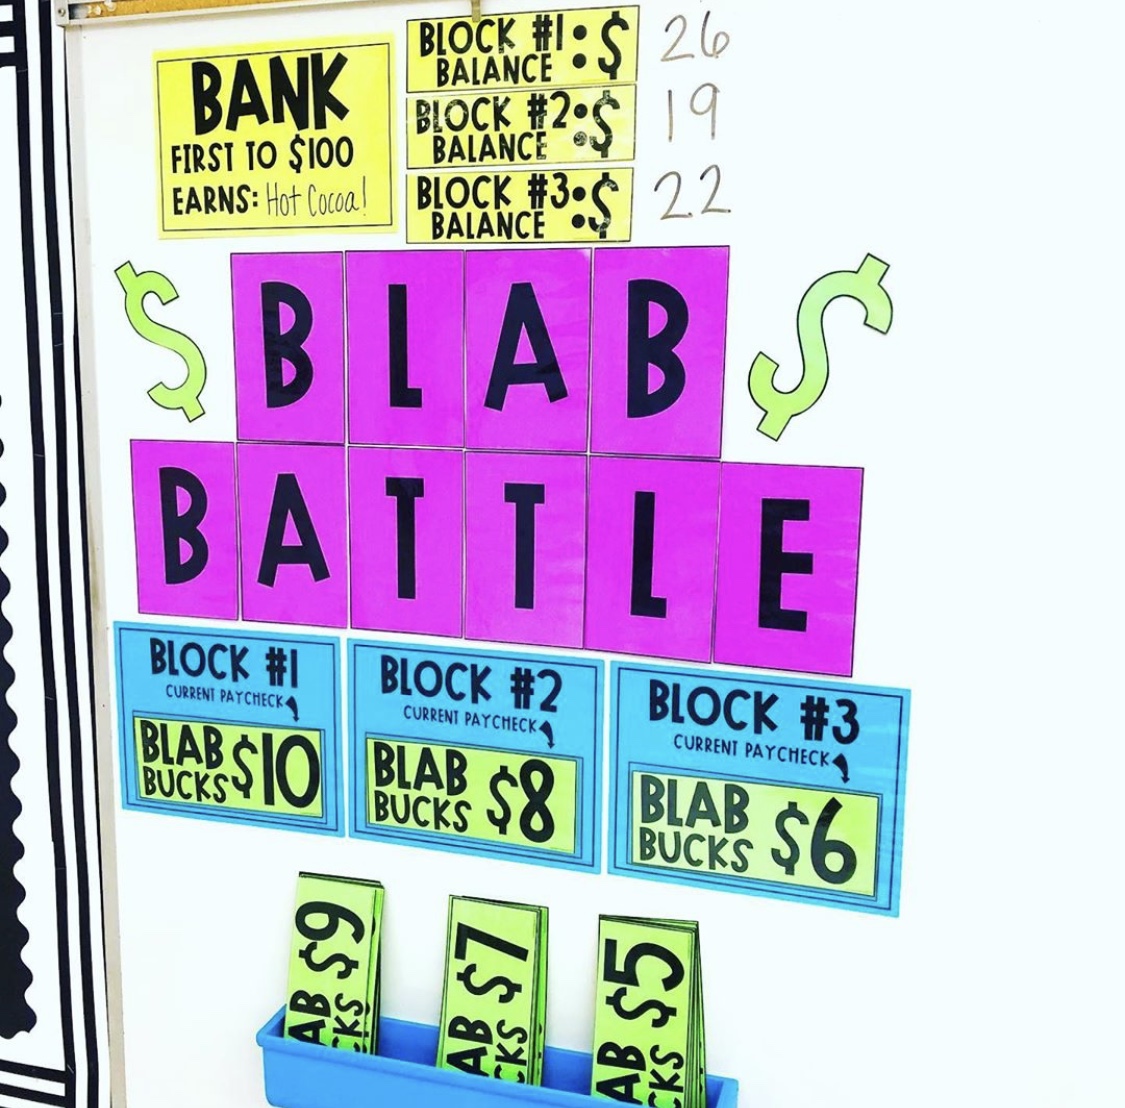
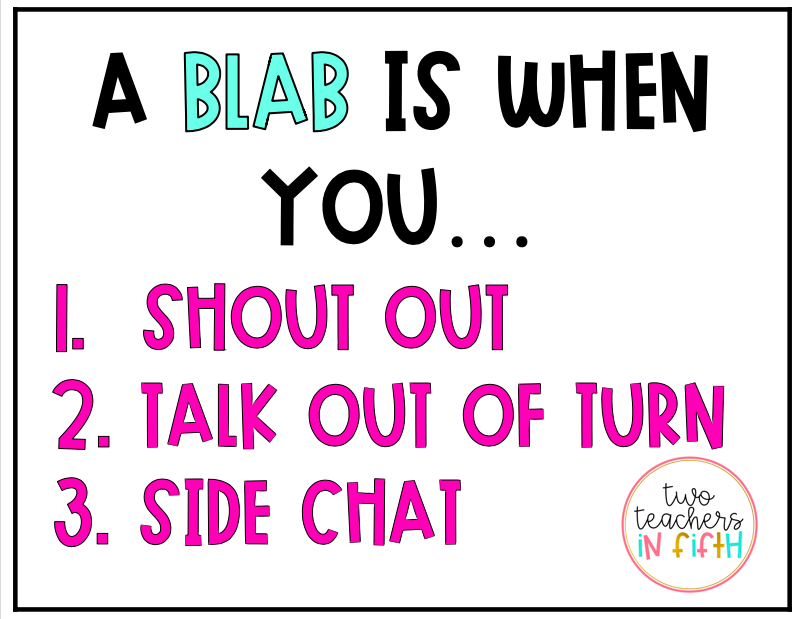
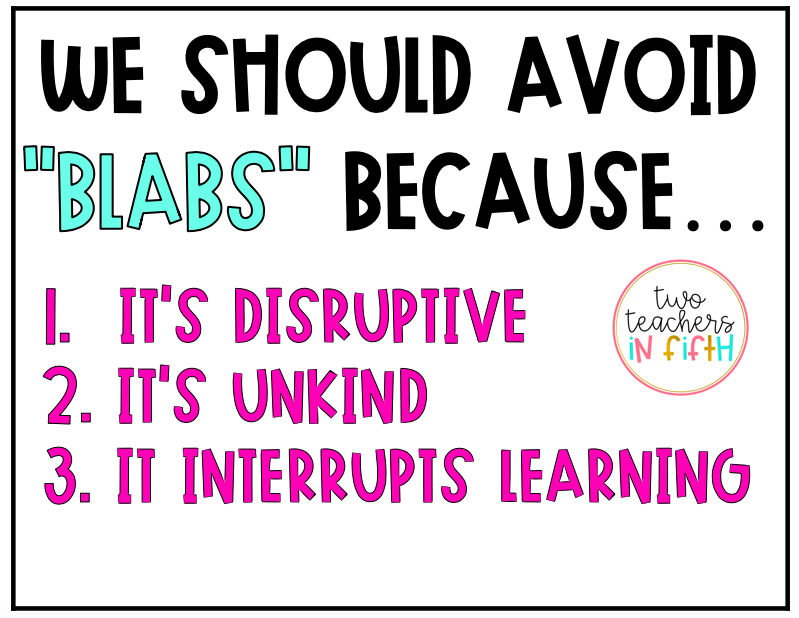
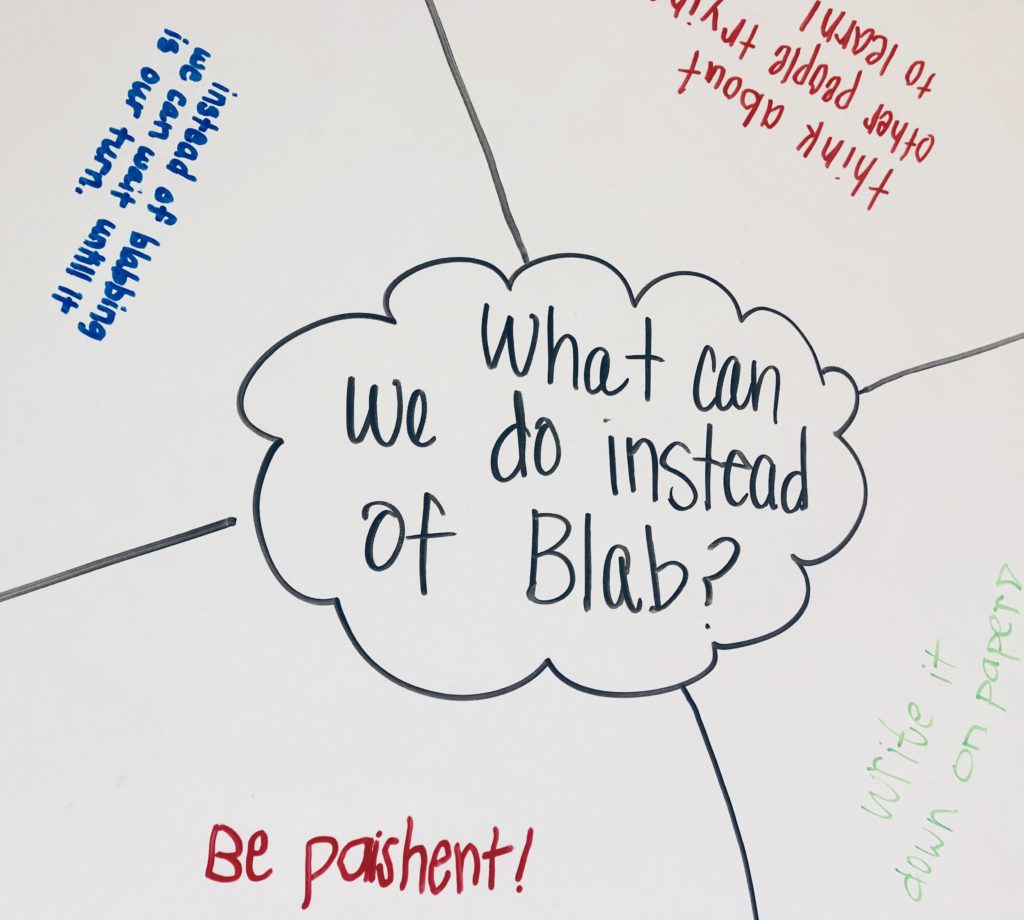
Our top visited Blog Post: How to Quiet a Chatty Class

Teacher outfits can be found here: LTK Teacher Outfit of The Day

Amazon Storefront: All the Teacher Things!

*This post contains affiliate and commissionable links

Filed Under: Seasonal Activities Tagged With: classroom, picture books, st. patricks day, student gifts, teacher outfits, teahcer

Teaching Sequence of Events in 6 Scaffolded Steps!

February 26, 2024

Hey everyone!

This post is all about one of my favorite things, teaching reading skills! I love how topics can be broken down, defined, and differentiated in fun and interactive ways! I personally teach 5th grade emerging readers, so I will talk about how to teach Sequence of Events in a way that can be used for 3rd-5th graders. I even used this particular lesson with my 6th grade reading intervention and ELD students as well! This activity is designed to teach, review, and scaffold the skill “sequence of events”. This is best used to introduce the skill, use as a station, or as an intervention. 

Prep Tips- Do it once, use for years!

Before we get started, because this resource can be used with such a wide range of students, I HIGHLY recommend prepping this as a reusable station. That means taking the time to laminate, use velcro, and store them so that you can pull them out multiple times per year, for many years to come. I have been in 3 grade levels over the past 10 years and the amount of time I have saved by prepping this activity for the long haul….wow, PRICELESS in the teacher world!  That being said, you can also easily print and use as regular worksheets if you don’t have the time to prep it all, right now 🙂

Here are some links to the things I use to make these reusable stations:

Laminator

Laminating Sheets

Velcro Dots

Astrobrights

Storage Bins

Wet Erase Markers

Super Thin Dry Erase Markers

Step #1 Defining The Skill

Although going through this poster with students isn’t going to teach them the skill itself, it sets the stage that a new topic is going to be learned. It begins the lesson as well as possibly activating prior knowledge if this is a spiral topic. Then we go through some examples of clue words that might help us recognize a sequence in our text. After I read the examples listed on the poster to them, I will ask students to talk with their partners about any other sequencing words they can think of, and write them down on a whiteboard or a piece of paper. Then we can share out as a group. You can use the sentence frame “one sequencing clue word my partner and I know of is_________”. This ensures partners are talking, doing the task asked of them, and are prepared to share. We mean business!

Step #2 Picking Out “First” and “Last”

This is one I would for sure laminate for a small group! Because the students can quickly do this skill by checking off the correct answer with an expo marker. 

TEACHER TIP! Did you know you could write and erase on laminate with dry and wet expo markers? If any retiring teachers leave behind any ancient wet erase markers from their projector days, TAKE THEM! We love them along with a wet wipe for these reusable mats even more than the dry erase. You can also get them cheap on amazon here.

For this activity, I start in sections. I will have the students do the left side first, which asks them to read mixed up events of a short story or scenario, and then decide which event should be first. Using the sentence frame poster you can decide if you want them to do a quick “____ happened first”, or can have them sequence all steps in order. I will assign partners in the group to have one of the sentence frames filled out on their white board and be prepared to share.

Step #3 Ordering a Short Paragraph with Simple Sentences

Here is another example of how laminating and velcro can save you time. You wouldn’t have to deal with cutting and glue! This helps my group cut down on time and focus on the skill when we are rushing through rotations (which is required at my school by the way!). It can also help students with special needs and decrease frustration for students who might need support in that area.

For this scaffolded portion of the lesson, in a partnership, I have the pair take off all the pieces and lay them on the desk. They can manipulate the order of these events until they feel they are in the right spot. When they are waiting for others to finish, they can underline the clue words they see in the events. I then go down the line and have them give a thumbs up if they are correct so far. There is a part of the events that the students will disagree on, “do you brush your teeth before you eat breakfast?!” It causes an uproar and allows for some fun talk time to encourage community and students getting to know each other. It also lends a teachable moment where we won’t always have clue words to help us order! I have taught this lesson so many times, and it happens every single time 🙂

Step #4 Independently Working and Connecting Skills

This portion is designed to have students use a “sequence clue word”, and use their skills in Cause and Effect to determine an event that COULD have happened before or after the other. At this point, I will encourage them to try this part of the activity independently, and THEN share with their partner, before with the group. This lets them test the waters of working on their own, but then checking with a peer for reassurance or guidance before the group comes back together. I will also ensure they have their clue words underlined in their sentences they created as well.

TIMING AND PLANNING—The next two steps I usually do on DAY 2 of small groups because this is already a lot to fit into 30 minutes. If doing a whole group lesson for the duration of your reading block, you could certainly fit this all in one day!

Step #5  Reviewing

This activity was created to have my students “put it all together”. It reviews all the skills so far, and they will show me what they remember, and can do independently.  This portion has 2 sets of “Order the photos”. Students order them and then create a complete sentence (with a sequencing word) for each event. At the end, they should be able to read all 3 sentences in a row, to match what they believe is happening within the photos. I will encourage them to use the sentence frames provided for this portion if their sentences are incomplete or don’t contain sequence clue words.

Step #6: Assess

Usually by this time, they say how it’s “so easy” and how they are ready for “the last level”. I love seeing them have fun and believe in themselves during reading. It brings me so much joy as a teacher! 

We’ve made it to the last part of this lesson. Students should be feeling more confident that they can sequence on their own.  Students will read a full page passage. They need to sequence the events in the story by drawing a photo that goes along with the event, and adding sentences including a sequencing clue word.  There are two different passages to choose from. I will use one for the assessment, and use the other as a reteach for students who did not show mastery on the assessment.

The best part about this, is that we use this same scaffolded approach for all the skills in our reading curriculum, so the students get used to the quick pace, the increasing challenges, and they have fun!

Thanks for reading! We hope this was helpful for you 🙂

Good news! We have this similar format for MANY other skills

If you want to check out the other reading skill bundles we have, here they are:

Tinyurl.com/figurativelanguagebundle

Tinyurl.com/themebundle

Tinyurl.com/causeandeffectbundle

Tinyurl.com/drawingconclusionsbundle

Tinyurl.com/mainideaanddetailsbundle

Tinyurl.com/factandopinionbundle

Tinyurl.com/storystructurebundle

Tinyurl.com/compareandcontrastbundle

Tinyurl.com/authorspurposebundle

*This post includes affiliate links*

Filed Under: Reading Activities, Uncategorized Tagged With: 5th grade, classroom, education, ELA, Lesson Plan, reading, teahcer

How To Get a Chatty Class to Quiet Down

August 31, 2019

Hey guys! Brooke here, to tell you all about my teacher pet peeve: blurting out! It truly drives me bonkers because its disruptive for the students AND distracting to me!

I’ve never had an issue with this like I have this year! The first week came and I was trying to stay positive, give reminders, and have them practice raising their hand after they’ve blurted. But the problem just kept persisting.  The other thing they were doing was yelling my name WHILE raising their hand. Many conversations about patience were had, but I was losing mine!

 I wanted school to stay fun and positive for them but I was turning into a cranky teacher on only the second week! I took a step back and thought about how I could explicitly teach the students about this behavior so that they are aware of it, and it could be fixed.

I love a little friendly competition! Especially when it is visible to students, as a constant reminder.

I ended up creating a game called, “Blab Battle!” Here is how to play that game, or you can use these same steps to make up your own game with a similar system.

  1. Get specific with what you want to fix:

2. Discuss why this needs to change:

3. Brainstorm as a class what they can do to replace the “blabbing”. I have students brainstorm as a group. We have whiteboard tables, so I have them jot down their ideas on the table. I make sure they know everyone should have at least ONE idea picked out to share, because I’ll randomly call on someone from each group.

4. Next we talk about how to kindly remind people not to do this behavior. “Shushing” and saying, “be quiet” actually counts as a blab. This is because they are “shouting out” in it’s on way, AND is unkind. My class came up with a hand signal, a “fist pump” (thank you Jersey Shore) as a reminder.

5. Now you set up a system with incentives. How will you clearly define and measure rewards and consequences for this behavior?  This is also important for teachers because when emotions are high (and we are very frustrated with a behavior) it’s easy to give an automatic consequence which may be too harsh. This does not give students the opportunity to change their habits and feel proud of themselves because of it. It also puts the teacher-student relationship at risk.

Personal story time- you can skip this chunk and go to #6  if you want to continue reading the steps! 

My first year of teaching, I used a marble jar as my classroom management system. I kind of *not really* had a system to the marble jar. But, basically any time they did something “good” they got a marble and any time there was an issue, they lost a marble.  We were having a Valentine’s Day party and  students were decorating sugar cookies with frosting. I knew they would be hyper and excited but I was not prepared for what that hour of our class would be like.  They. Were. Wild.  And I was stressed.  I wanted them to have fun but, I didn’t know how to establish clear boundaries.  We stopped multiple times and talked about “calming down” but it wasn’t doing much.  Towards the end of the party, I had a student yell, sprint through the class, and when he turned around, he had blue frosting smeared all over his face. 

Now, did I set up clear expectations before we had this party? Absolutely not. Did I have a strong classroom management system in general? Not in the slightest. But I *felt* they should have known better, and I was livid. I walked over to that marble jar and dumped them ALL out. Usually students would lose 1 marble for things here and there, this time, they lost about 50 marbles.  They all looked at me wide eyed and horrified. And in that moment, to be 100% honest, that was the type of reaction I was looking for.  I wanted them to know that I meant business and they crossed the line. I’m not proud of it, and maybe they did learn a lesson from that, but after I calmed down I realized that wasn’t fair. And I knew that I wouldn’t be doing that again. I was the one who ended up learning a lesson.  It’s easier to be clear with your expectations in order to prevent these things, than to deal with them.

That’s why we have to break down behavior expectations, rewards, and consequences in a way that makes sense to students! When students knows what is expected, and what to expect… they are more likely to think about their choices. 

Now Back to how to do exactly that!

#6 This is continuing our last step, how I set up our system and rules of the game “Blab Battle”:

a.) Each class starts the week off with $10 worth of Blab Bucks. This is their weekly “paycheck”. If you are self contained you could do this by table group.

b.) Each time there is a “blab”, they lose $1 from their paycheck.

c.) In my class, they can not earn a Blab Buck back after it has been lost. You can change this rule if you want, but make sure to clearly define HOW they can earn it back.

d.) At the end of the the week, however much is left of their paycheck, goes into their “bank accounts”.

e.) The first bank account that reaches $100 earns the reward.  The reward my students are currently working for in my class is hot cocoa.  Some teachers like to shorten this goal, and you can edit this part of the game to fit the needs of your class! They love to come in every day and see where the other classes are standing. I hear them reminding each other to raise their hands and language being used like, “Don’t! That was a blab!”. They are now in charge of this situation instead of me. Thank goodness because I have a million other things to be in charge of!

f.) If students have more that 10 “blabs” in a week, and their paycheck is at $0, they start getting taxed -$1 for each blab. So if at the end of the week, their paycheck is -$3, then the teacher will subtract $3 from their bank account, instead of adding to it.

#7: Review expectations when needed! For my class, the very first week they were losing Blab Bucks quickly. That was them realizing the issue we had going on, and visibly seeing their reminders have a consequence within the competition. At the beginning of the second week, I quickly reviewed what we were working on and pointed out that their paychecks were reset to $10. By the end of the second week, the issue of shouting out and talking out of turn was much better, and the loss of Blab Bucks were more spread out and less frequent.

Students should not be going in to the negatives often.  IF your students are getting into the negatives for more than 1 week in a row…ALL expectations need to be reviewed. Go back to square one. And keep reviewing and practicing until expectations are met. I promise, they are capable!

The last thing I wanted to point out, is that although they are working for a prize, the big picture, is that students are learning to work together and follow rules.  This makes them feel good and that turns in to intrinsic motivation! It is important to PRAISE when you see students doing the right thing. Almost EVERY time I call on a student, I start it with, “Yes, Jessica? Thank you for raising your hand!”. It’s a specific praise that lets students know they are doing the right thing. No matter the student, they want to feel loved by their teacher and that positive praise makes them feel noticed and appreciated.

We hope this was helpful to you all! and if you want to see video versions of ”blab battle” explanations, go check out our Instagram @twoteachersinfifth. We have an entire highlight on our page dedicated to it. Have a wonderful school year!

Blab Battle link: Get it here

To read about Puzzle Wars, another classroom management system, click here.

Links for other items used in this post:

Laminator: link

Laminating sheets: link

Velcro Dots: link

Amazon Storefront: Shop teacher items!

LTK: Shop our teacher outfits!

**This post contains affiliate links. Thanks for your support! 

Filed Under: Classroom Management

How To Teach Classroom Behavior In A Positive Way

August 6, 2019

Happy (almost) back to school! I know hearing that can be stressful as summer ends.  Even as someone who LOVES her job, I (Brooke) get nervous about going back to school. This is because once I get started, I know how I will be going FULL speed for the first month of school.  It’s a whirlwind of nerves, excitement, stress, foot pain, and fun!

During my first year of teaching, my principal said to me on the first day of school, “Are you ready? The first week is make it or break it!”.  I was puzzled by this statement, but I just awkwardly laughed and said, “Hehe, yep! I know!”. 

Y’all, I didn’t know. And I screwed up.  My classroom was like a scene from Jumanji.

My students saw me as a friend, and when came down to “business time” it was a nightmare for me; example: formal observations.  One time my principal popped in unannounced, and a student was braiding my hair.  My shoes were off.  Raise your hand if you are embarrassed for me right now. Steve Price if you ever read this, I am truly sorry and you were the sweetest boss ever.

Anyways, I knew I needed things to change but didn’t know how to make it happen.  I turned to the internet and read blogs on blogs, I asked for help, observed other teachers, and tried things out! Classroom management is truly an art.  It takes time to figure out and it also depends on the type of classroom you want.

I decided I wanted to have a structured, and engaging classroom. I didn’t want to be embarrassed when my students were walking down the hall, but I also didn’t want to be Ms. Trunchbull.

This ended up being the (not so) secret formula to achieve those 2 things:

1.Be very clear and explicit with what you expect (yes, yes, you’ve all heard this before. But, this part needs to be student friendly).

2.Reward to enforce good behaviors (you do not need to spend a million dollars on this part, just keep reading!).

3.Calm conversations to address problem behaviors. Then Practice over and over. Until you see student eye rolls (kidding, kind of).

This my friends, is how Puzzle Wars was born. A little friendly competition that encourages students to make good choices.  I’m telling you, this works like a charm, especially at the beginning of the year, right after Winter Break, and during those super tough last weeks. This is because it is clear and structured! I’m going to break down how I use this in my classroom and will also mention some ideas of how other teachers have been using it as well!

STEP 1: SET UP “GAME BOARD”

I teach 3 blocks of ELA, so my puzzle wars contains 3 puzzle boards. If you are self contained, you can do table groups! I use Velcro so I don’t have to spend time attaching pieces up on the game board as they earn them and can reuse them from week to week. Some teachers laminate and color in with an expo, some print on regular paper and just color in with a crayon, that part is up to you.

I use one board per class

STEP 2: PICK BEHAVIORS TO FOCUS ON

The ones I focus on at the beginning are: quiet transition, on task, follow directions, clean area. This helps each class run smoothly, depending on your grade or subject area, you might want to focus on different things. This is why there is an editable portion of Puzzle Wars.

These are the main behaviors I focus on throughout the year.

STEP 3: DEFINE BEHAVIORS WITH STUDENTS

This is where you whip up a simple anchor chart (nothing fancy!). You could do one anchor chart per puzzle piece for younger students. This thinking map below is appropriate for my 6th graders. I plop one anchor chart that looks exactly like mine on every table, and students brainstorm and fill out as a group. They are thinking out loud “What specifically can we do to earn a Clean Area puzzle piece?” etc., etc. Then we come together and fill out an anchor chart together, which will go up on the wall.  We will refer back to this anchor chart over and over, as we are learning expected behaviors.

This anchor chart is used to get students thinking about what they can be doing in class to earn their puzzle pieces!

STEP 4: NOW YOU ARE READY TO ROLL OUT THIS MANAGEMENT TOOL

There are a total of 16 pieces, and only 4 different behaviors I am focusing on. If my students come in quiet, and get unpacked, I immediately thank them and give them their puzzle piece. If they have an awesome class period, they could earn up to 4 pieces!  Students might notice that they are really good at one skill, but need to work on another.  This points out areas to grow to the students in a visible way, that they can understand. So much more powerful then saying, “We need to work on coming in quietly!” which I know I am guilty of saying at least a bajillion times. 

I start the Puzzle Wars board on Monday, and it ends on Friday.  Students will get their reward the following Monday. That way all students have the equal amount of time to earn pieces.  The first block to fill up their entire board gets the reward! If no class fills up the board, then no one gets the reward. We will start over and try again next week! This happens rarely, as I am always on the hunt for an opportunity to praise!

Here is an example off one of the many FREE rewards you can give to your students!

Here is the thing…I NEVER take a puzzle piece away from them. I know it’s hard, trust me. The reason I do this is because I don’t want to discourage them. Mistakes happen.  And their isn’t as much “buy in” if the teacher is constantly threatening to take away a puzzle piece that they previously earned. This is designed to be a positive approach which rewards students for making good choices.  Their natural consequence for making bad choices, is not getting the reward. Not getting that “prideful moment”.  Not getting to cheer when their board is the first to fill up.  Maybe next time they will encourage each other and remind each other of what they should be doing.  And they will. Seriously, try it! This gives students ownership of the way their classroom runs, and I, and the teacher, supply them with the tools they need and step in when needed.

Do not go overboard on your rewards! You, and your bank will not be able to keep up with this. 78 of the reward options within this management tool are FREE REWARDS. Some examples are: free sit (a big one in middle school), free homework pass, extra recess, lunch with the teacher, gum pass, play capture the flag.  Anything that is outside of the classroom, will be about 20 minutes and will happen when time allows.  One time their reward was Oreos, because a parent donated them. Each student got one Oreo, and they were still happy. This is because they had praise from their teacher and classmates along the way, got to stand out as “winners” and got to do a little special something out of the ordinary. It ends up not being so much about the reward, in the end.

We hope we broke down this classroom management tool enough for you! If you want to see all of this broken down in video format, we encourage you to go check out our instagram @twoteachersinfifth where everything is saved in a highlight called “Classroom Management”

Thanks for reading!

Useful links:
TPT Store
Puzzle Wars Game
Blue Magnetic shelf ($$ spendy but durable)
Velcro we use            *aff link*
Laminate we use         *aff link*
Laminator we use        *aff link*

Filed Under: Classroom Management Tagged With: back to school, behavior, classroom, classroom management, education, teahcer

Using The App Pic Collage In The Classroom

August 4, 2019

Hey Everyone, Leah here! Today I wanted to share how we use one of our favorite Apps, Pic Collage, in the classroom! 

Pic Collage is one of our favorites for a few reasons:

  • It’s FREE
  • It is easy to use, and student friendly
  • ALL grades and ages enjoy it
  • You can do SO SO SO much with it

You can find the app HERE for apple, or HERE for google.

I always introduce this app as one of the first things we do with technology in the first week of school. I use this app because it engages the students right away and gets them excited for all the technology we are going to use throughout the year.

I use pic collage to do some of our back to school activities like our “All About Me” page, a classroom scavenger hunt, and some of our “Find Someone Who” games. All of these activities can be found HERE.

You can use these activities on the app two different ways. First, by printing a hard copy version and students can take a picture of it and then upload it into the pic collage app. OR I will save the PDF of the page I want and add it to my Google Classroom and students can access it to save to their pictures and use on the app.

The great thing about Pic Collage is that you can put any worksheet onto it and it becomes a digital activity! The kids can interact with it using the different tools within the app, and it makes doing the worksheet that much more FUN!

I also love that within this app students can look up images “safely”. What I mean is that if a student searches for an image within the app, the images are all school safe, and no random inappropriate pictures are going to turn up, woohoo! This makes using the app even better because you do not have to worry!

Students will also LOVE that they can add GIFS into their work when you allow it. I always let my students create their backgrounds for their iPads on this app and this is a time I allow them to use GIFS.

Another way I always use pic collage is when we are talking about character analysis. I will have students take a picture of the character in the book and then around the character type up traits and use text evidence to support the traits they chose. In younger grades students can take a picture and choose traits from a list, we have done this with our kinder buddies and they LOVE it!


We also always use this app when we make our colonial characters during our colony unit. When the students make themselves into a character they use this app, and they always turn out hilarious! We all get a good laugh at each others character and the students LOVE doing it!

Pic Collage is also perfect for when you are teaching geometry! We will do angle and triangle hunts around the school and students can take pictures of angles they find. We will also use this app to sort shapes into different categories. You can grab a freebie of all the geometry hunts/sorts we use HERE.

Once you play around with the app you will find that it is very easy. Below are some quick tips to using the app.

  1. Easily upload any photo by pressing the screen and a box will pop up for you to upload your own image or add in stickers.
  2. Set any photo as the background by holding down your finger on the screen and when the toolbox pops up pressing “set as background”
  3. Trim around a photo by using the “cutout” button on the tools panel.
  4. Add in images of GIFS, and easily search for images on their safe search engine.
  5. Add text, change font, change color, and make it your own!

We seriously LOVE the Pic Collage App and their are so many other ways to use it in the classroom! Have you used this app before and how do you use it? Please share your ideas in the comments below , we love to hear new ideas!

Filed Under: Technology in the Classroom Tagged With: Apps in the classroom, Pic Collage

Managing Your Back to School Night for the Most Success

July 18, 2019

Hey Everyone, Leah here!

I wanted to chat with you about how we do our back to school/meet the teacher night. 

A little about me first, and my path into my first teaching job. The first year I was hired to teach first grade, I got hired ONE WEEK before school started!!! I was fresh out of school, super excited to get my dream job of teaching first grade, and was sitting there with mixed emotions of happiness, stress, excitement, stress, because I had ONE week to prepare! I literally had no idea what I was doing, how to start, or what to do when all those first grade faces and parents walked into my room to meet me. I was terrified!

My first classroom 7 years ago on back to school night! I taught first grade.

Fast forward a year later, my husband’s job brought us back to our home state of Oregon! I was sad to leave my new teacher friends, but excited to be close to family. Once again, I found myself moving back in August, and interviewing just days before school started. I was fortunate enough to land a job ONE DAY before meet the teacher night… insert panic!

Between these two experiences I quickly figured out what was important to have and to do when you meet your new students and parents for the first time. I had to put aside what I wanted to do (decorate all the things, buy all the things) and figure out what REALLY needed to get done, the other things could come later.

 I found that setting up my room with stations for the parents and students to go through at their own pace works best for me. I make sure to have a station for each of the “important” forms I need filled out, while also having fun things for the students to do.

A few of the stations we set-up around our classrooms during this night.

All of the forms I use can be found HERE and I will go into a little detail about what I do with each below.

I like to bundle all my classroom forms into a folder that sits on each student’s desk for them to pick up, take home, and then return during the first week of school. I simply print the folder page on a larger piece of copy paper and fold it in half to make a folder.

The simple folder we print on large construction or copy paper and fold in half, easy and FREE!

Inside this folder our families will find the all about me page, scholastic reading info, snack Info, movie permission slip, parent contact information card, and class information for them to read over.

I like to set-up my remaining forms as stations for the parents to go to. I make SIGNS and put them in THESE clear acrylic photo holders that you can grab at the dollar tree!

For my stations I have a volunteer table where parents can sign up to volunteer, and transportation table where they fill out their child’s transportation info, and I always hang the donation apples on my whiteboard or near my door so if they want to donate to my classroom they can take an apple.

Another fun station I like to set-up is a letter station where parents can write a letter to their child and I will put it on their child’s desk for the first day of school. You can grab our letter freebie HERE

For my students, they go to the supply drop off station where they organize their supplies by type. I do community supplies because we do not have desks, so we share supplies. You can find some free supply labels to put on bins HERE

The students also get to pick up their nametag from a station and pick their desk. The students LOVE being able to come in and pick their own seat. It gives them the feeling that they already have choice and gets them excited to come back for the first day of school. I typically end up solidifying their seats by the end of the first week, because as we all know best friends next to each other is not always the best set up…ha!

My students always get stations for them, this one is where they pick their seat for the first day of school

I love for my meet the teacher/open house to be a free flowing night where I can mingle with students and parents, and the jobs for them are very clearly posted so I do not have to repeat myself all night!

Now, here is one more tip I have been doing for years, and it always saves me during back to school season! Don’t stress if you didn’t do it this year, you now will have everything, so you can start for next year. At the end of the year I always print all these forms and folders off and get them prepped and put in a “Back to School” box. That way I am not running to the copy machine frantically getting everything ready hours before, instead I can do some of the other million things we all have on our to do lists at the beginning of the year!

This back to school bin is a place where I can keep all my copies  of forms for the next year in.

I love how I do it so much that I made a freebie for you to grab HERE. It includes my station signs and a “Welcome Slide” for you to display for parents and students to read so they know what to do!

We also have a fun and free treat tag that you can attach to a lollipop and put on students’ desks. Grab it HERE.

You can grab all the forms I use HERE. I hope this helps you or gives you some ideas of how to set-up your meet the teacher/back to school night. I would love to hear any other tips you do that makes this night go even smoother in the comments below or you can always email us at [email protected] if you have any questions!

Filed Under: Back To School Tagged With: back to school, back to school night, meet the teacher, meet the teacher night

  • Email
  • Facebook
  • Instagram
  • Pinterest

Grab a Button

Grab a Button

Search

Categories

Latest on Pinterest

  • Brooke and Leah on Instagram: "A fun and thoughtful Mothers’s Day Gift! Quick prep too for anyone else who is in the “last minute club” like me 😬🩷🌷
⬇️
🔗tinyurl.com/mothersdayflowerpot
.
.
.
.
#mothersday #mothersdaygift #teachersofinstagram #teacherspayteachers #classroomdecor #5thgradeart #5thgrade #teacher"
  • Click to find the exact size of playdoh needed for this set up!
  • It’s loose, flowy, comfy, cute, and inexpensive!
  • Behavior in the Classroom. Quiet down your Chatty class with this classroom behavior management system that actually works. The kids enjoy it too!
  • Teaching an explicit behavior in your class. Getting them to stop shouting out! a Classroom behavior management game and system that your students will actually like.
  • Teaching an explicit behavior in your class. Getting them to stop shouting out! A classroom management game that students will actually buy into.
  • The Perfect Teacher outfit for the Spring! I’ve had these shoes for 2 years and they are sooo comfortable to teach in. Could wear them all day!
  • The Perfect Teacher Outfit. Spring Dress and Shoes for Teachers. I’ve had these shoes for 2 years now and they are soooo comfortable to teach in. All day comfort!
Follow Me on Pinterest

Latest on Facebook

This message is only visible to admins.
Problem displaying Facebook posts.
Click to show error
Error: Server configuration issue Error: No posts available for this Facebook ID

Latest on Instagram

Copyright © 2025 · Website Design By Jumping Jax Designs